Clouds are made up of tiny drops of water or ice crystals. They form when warm air picks up water vapour from the land or sea and carries it into the sky turning it into water droplets or ice crystals!
The study of clouds is called Nephology.
Let’s learn more!
There are lots of ways to describe clouds but they are usually named based on their height in the sky, their shape or the weather they can bring!
If a cloud name starts with “cirr-” then you know it must form very high in the sky (over 20,000 feet).
If a cloud name has “Alto”- in it then it is in the middle section of the sky (between 6,500 and 20,000 feet).
Clouds with “Strato-” in the name are found in the lowest part of the sky (below 6,500 feet).
The clouds that are really high in the sky are mainly made up of ice crystals as the air is so cold.
Clouds at ground level are called “fog”.
Did you know…all clouds are white but can appear grey or dark when seen from below? This may be due to the amount of water they contain and shadowing by clouds above them.
Clouds named according to their shape will contain one of these Latin words in their name…
Therefore a cloud named Altostratus would mean a cloud that forms in layers and sits between 6,500 and 20,000 feet above land.
Did you know... other planets contain clouds made up of chemicals other than water? Venus has clouds made up of sulphuric acid, chlorine and flouride. Neptune is covered by bright blue methane clouds!
The latin word “Nimbus” is used to name rain clouds!
Clouds called Cumulonimbus are often referred to as thunder clouds as they usually bring thunder storms!
Cumulonimbus clouds are the tallest of all the clouds.
Cumulonimbus looks a bit like a giant cauliflower in the sky!
Did you know… a sinlge cloud can hold billions of pounds of water?
Clouds are carried along by the wind and can often travel quite fast;
Thunder clouds (Cumulonimbus) usually travel about 64 kilometres per hour (kph). The highest clouds (above 20,000 feet) can reach speeds of over 160 kph!
An experiment to try at home:
Make a cloud in a bottle!
You will need… an empty 2 Litre plastic bottle, warm water and a match.
What to do… Fill the plastic bottle one third full with warm water. Put the cap back on and squeeze and then release the bottle. Nothing happens. Ask an adult to light the match and put it into the bottle. Replace the cap quickly. Try squeezing and releasing the bottle again. What happens this time?
So what is happening?…Once the match has been added to the bottle a cloud forms when you squeeze and then release the bottle (if you squeeze again the cloud dissapears and reappears when you release). To make a cloud you need water vapour, small particles (like the smoke) and a decrease in air pressure.
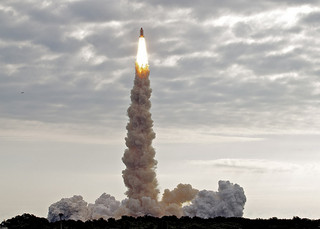
A rocket can describe any object that is propelled by fast moving liquid or gas!
Most rockets have a nose or cone at the top, a body that houses the fuel and fins at the base.
Rockets are usually powered by a chemical reaction (explosion) within the rocket itself. This chemical reaction requires both fuel and oxygen, both of which must be carried within the rocket.
The fuel and oxygen are called the propellant. There are two types of propellant, liquid propellant and solid propellant.
A solid propellant rocket is easier, simpler and cheaper to make. However, these rockets are harder to guide and control as once the chemical reaction is started it is hard to stop.
A liquid propellant rocket is more complex and expensive to make but the burning of the liquid fuel is allot easier to control.
photo credit: Flying Jenny via photopin cc
A bit of history
The Chinese were the first to invent rockets when they started filling bamboo tubes with gunpowder and lighting them.
Rocket science really began with an English man called Isaac Newton. He formulated three laws to explain the physics of motion. These laws explain how rockets work!
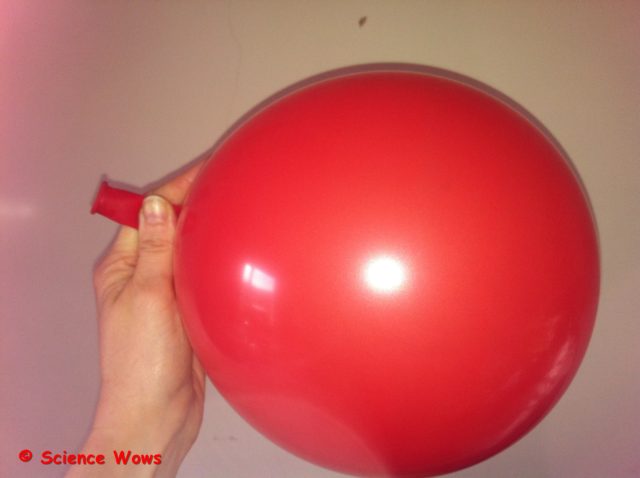
Newton‛s 3rd Law of Motion states that every action has an equal and opposite reaction!
To understand this law think of a balloon full of air.
Demonstrating Newton’s 3rd Law of Motion
If the balloon is untied and the air suddenly let out, it will escape the balloon with such force that it will propel the balloon in the opposite direction.
The force of the air leaving the balloon is called the thrust! The thrust that powers the launch of a rocket comes from the force of the gas (generated by the burning fuel) being ejected from the rear of the rocket!
The first liquid propellant rocket was launched in 1926 by an American called Robert Goddard. He is considered the father of modern rocket science!
Rocket to the Moon
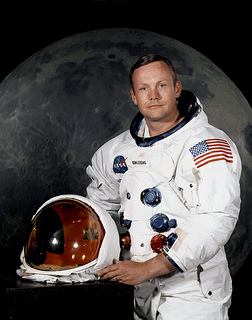
Neil Armstrong… photo credit: NASA’s Marshall Space Flight Center via photopin cc
In 1969 Neil Armstrong and Edwin Aldrin became the first men on the moon.
Armstrong and Aldrin traveled to the Moon in a rocket called Saturn V. It was 100 metres tall and weighed more than 3,000 tonnes! It was the largest rocket ever launched!
An Experiment to try at home
Make a stomp rocket!
You will need… an empty 2L plastic bottle, paper, insulation tape, a 1/2 inch PVC pipe, a length of rubber tubing;
What to do… tape one end of the rubber tubing to the neck of the bottle and tape the other end to one end of the PVC pipe. Next make the body of the rocket by wrapping a piece of paper around the PVC pipe and secure it with tape at the overlap. Remove the rocket from the pipe. Cut four triangles of paper and attach to the body of the rocket near one end; these are the rocket fins. Make a nose (cone shape) for the other end of the rocket and attach it with tape. You are now ready to launch your rocket. (Best to do this outside!).
Sit your paper rocket over the PVC pipe and place the 2L bottle on the ground on its side. Stomp on the bottle and watch your rocket shoot off!
This is what your stomp rocket should look like
So what is happening?… when you stomp on the bottle the air inside it shoots out through the tubing and the pipe, forcing the rocket off the end of the pipe! Just blow into the pipe to re-inflate to bottle to start again!
An Experiment to try at home
Make a teabag rocket
I have shared this one with you before, but for those of you who have not seen it I thought it would be a nice addition here…. a double for the Bank Holiday Weekend ;0)
If you try any of the experiments or have any comments or questions, please let me know in the comments below!
This weeks #FunFriday experiment is a simple and easy way to teach children how sound moves in air.
What you will need:
An empty plastic bottle
Scissors
A piece of plastic (cut from a plastic bag or equivalent)
An elastic band or tape
Small candles
Matches
(Adult assistance required!)
Just follow the steps in the video… and the “big kids” among you might like the second half of the video… where I scale things up a little!
So what is happening?
When you tap the plastic it acts like a drum. The sound waves it creates make the air molecules vibrate. These vibrating molecules then make the molecules beside them vibrate. The vibrations travel through the air in the bottle and blow out the flame.
Hope you enjoy this one… if you like it please share it and if you have any comments or questions I’d love to hear from you!
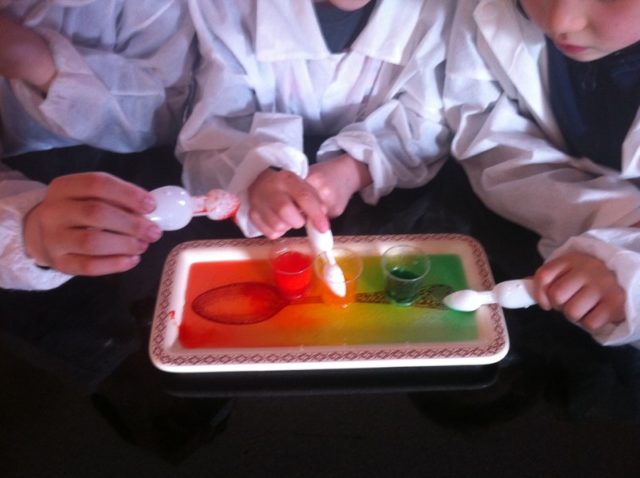
Wow, its Friday again, so that must mean another Fun Friday post. This week’s experiment is quick and simple… and lots of FUN….rainbow explosions – a BIG hit with all three of my children.
You probably have everything you need already in your kitchen!
You will need:
Vinegar
Bread Soda
Some different colours of food colouring
Some small spoons
Some small plastic cups (or similar)
A plate to contain it all
What you do:
Hope this is as much fun in your house as it was in ours; Let me know how you get on!
They liked it so much they had to have a rerun….love the colours, don’t you?
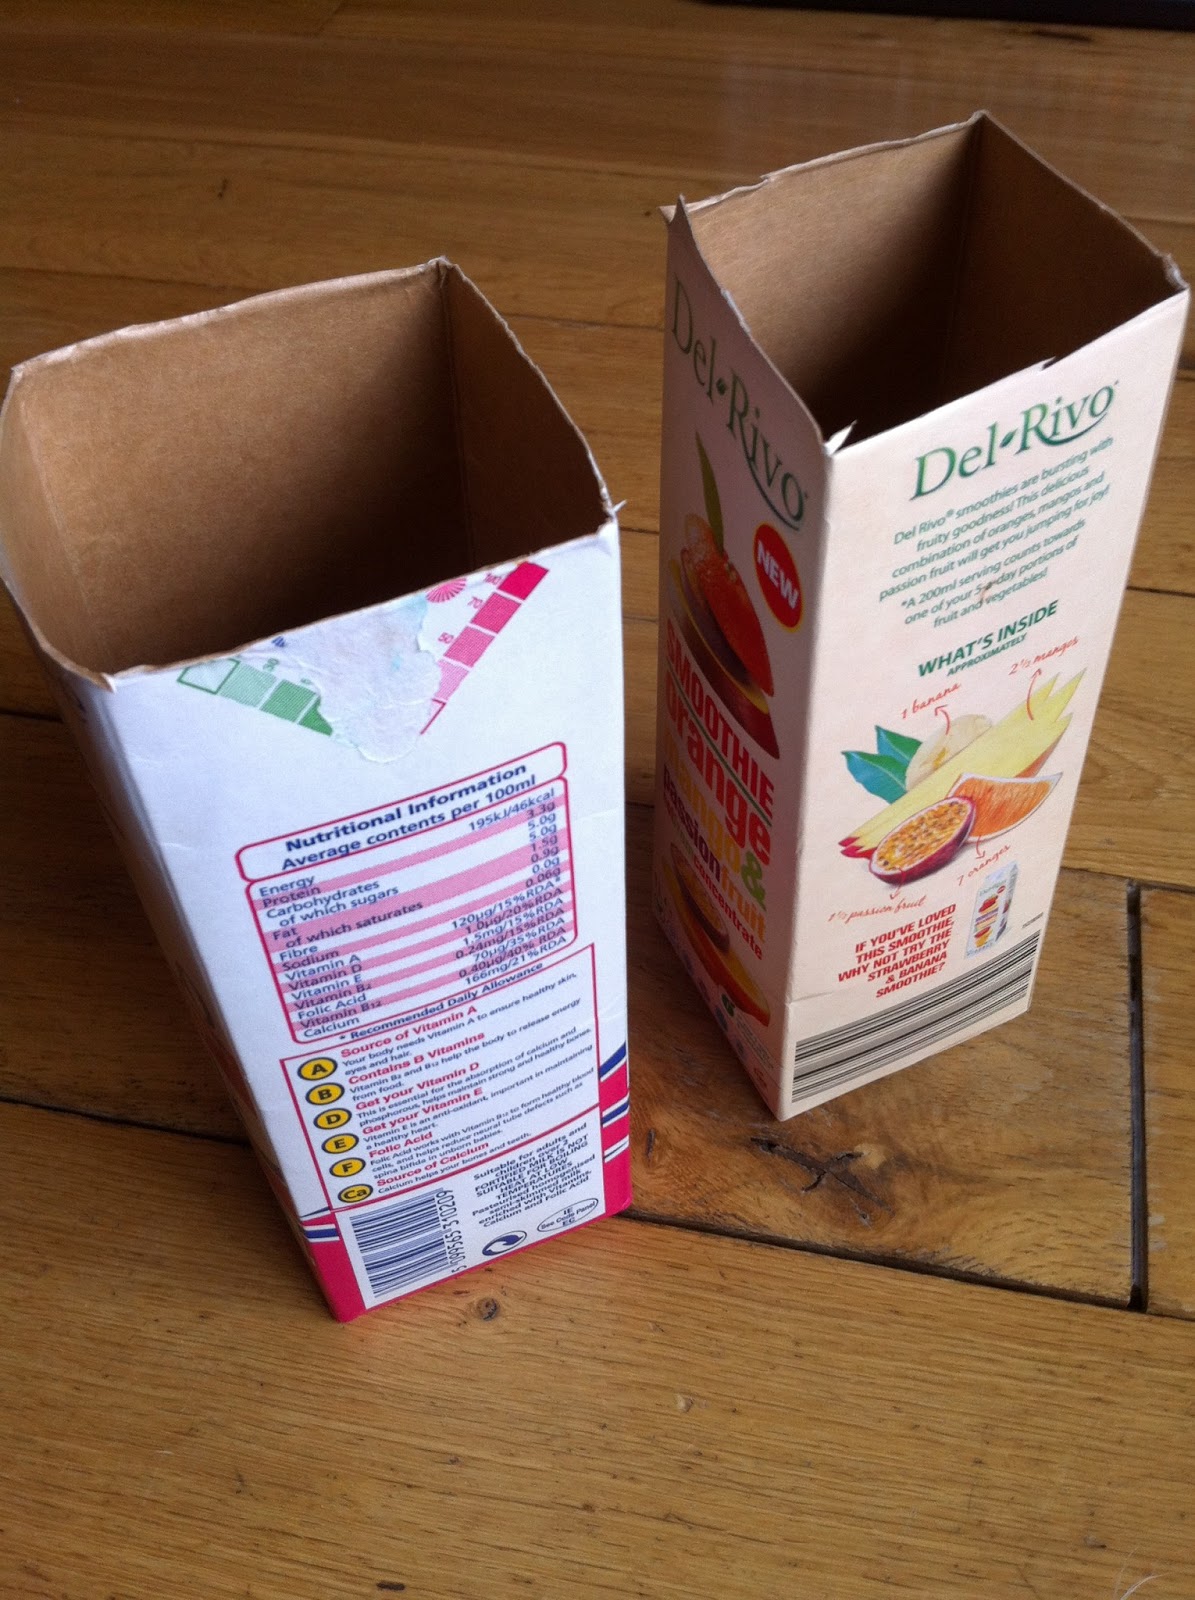
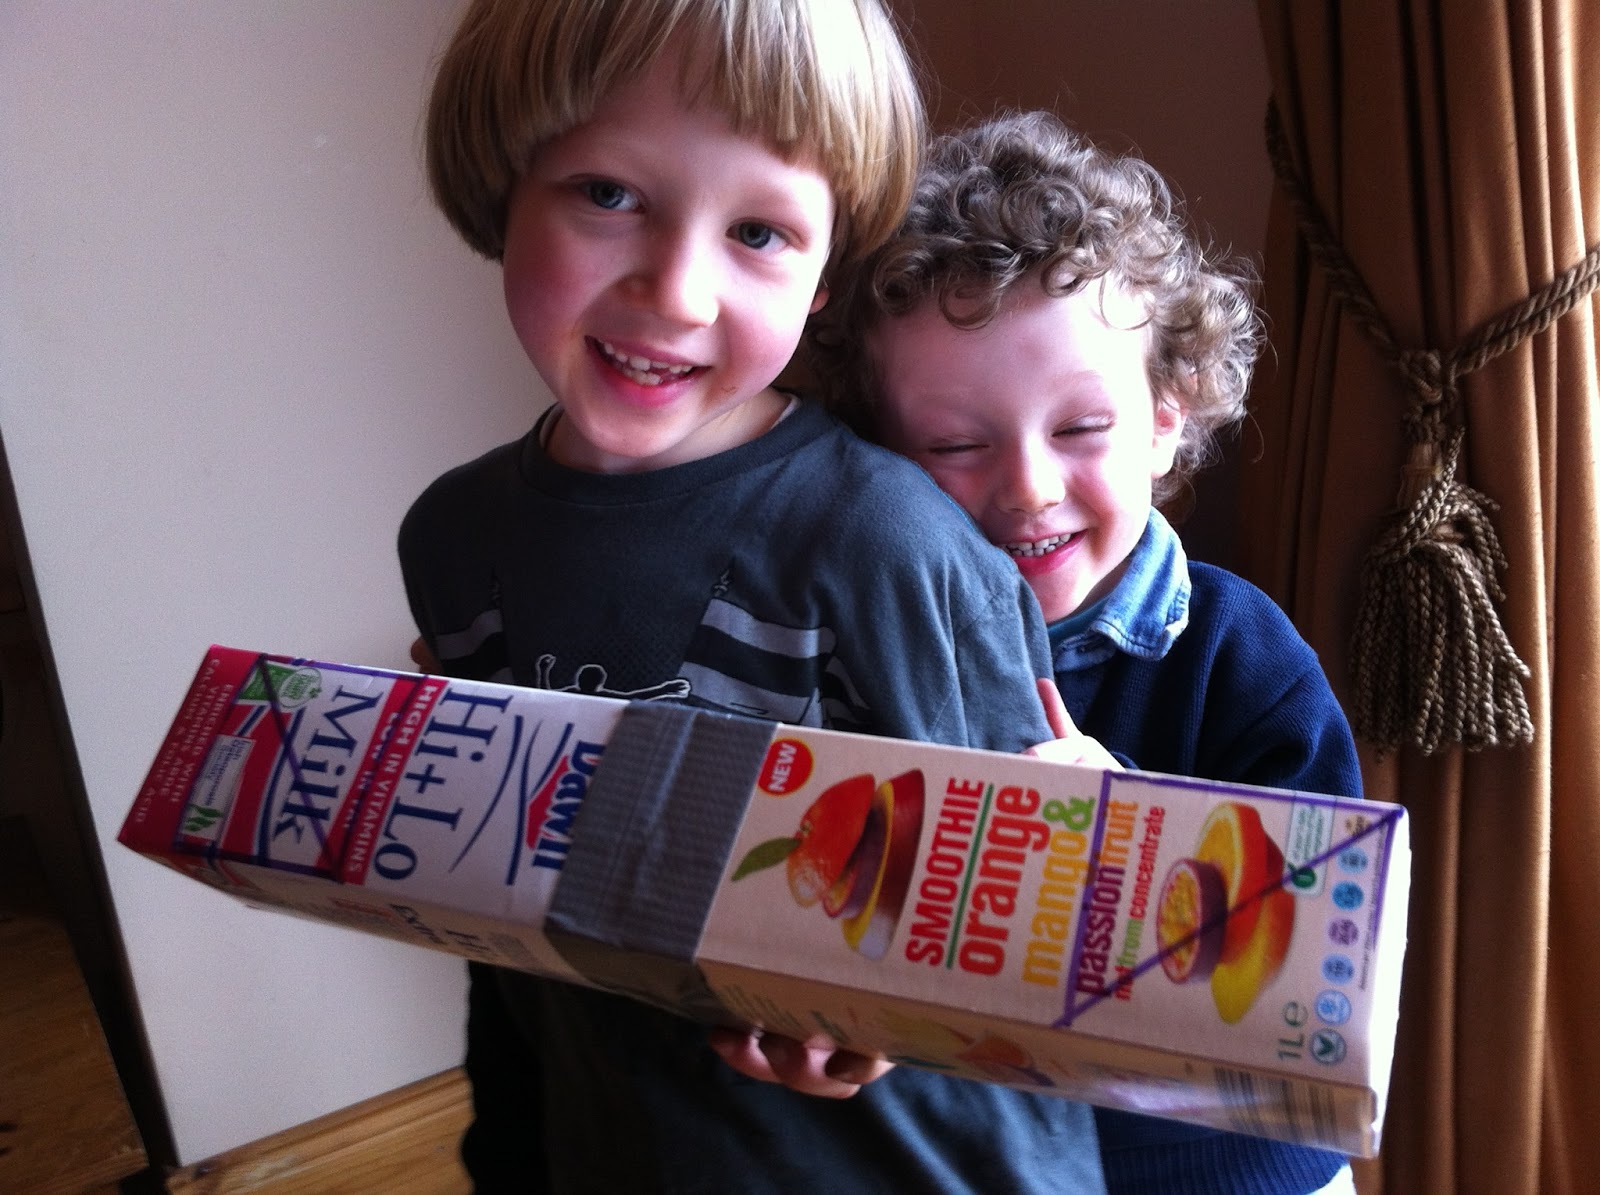
We had fun making this one… a bit fiddly at parts but worth it, the boys love their new periscope! You will need…. 2 clean empty juice/milk cartons (1 Litre) Some duct tape Scissors Pen Ruler 2 small mirrors (I got a little double mirror in a make-up set in The Two Euro Shop (for €1.50) )
What you need
What to do: First, cut the tops off the two cartons and tape them one on top of the other (taping them at the open ends)
Cut tops off
Tape together
Next mark off a square on the top side of one of the cartons with your marker (I made the square 5cm X 5cm); Cut out the square. Repeat this step on the opposite end and side of the other carton… so if the first square is on the bottom right side of your periscope cut the second square out of the top left of the periscope.
Cut a square
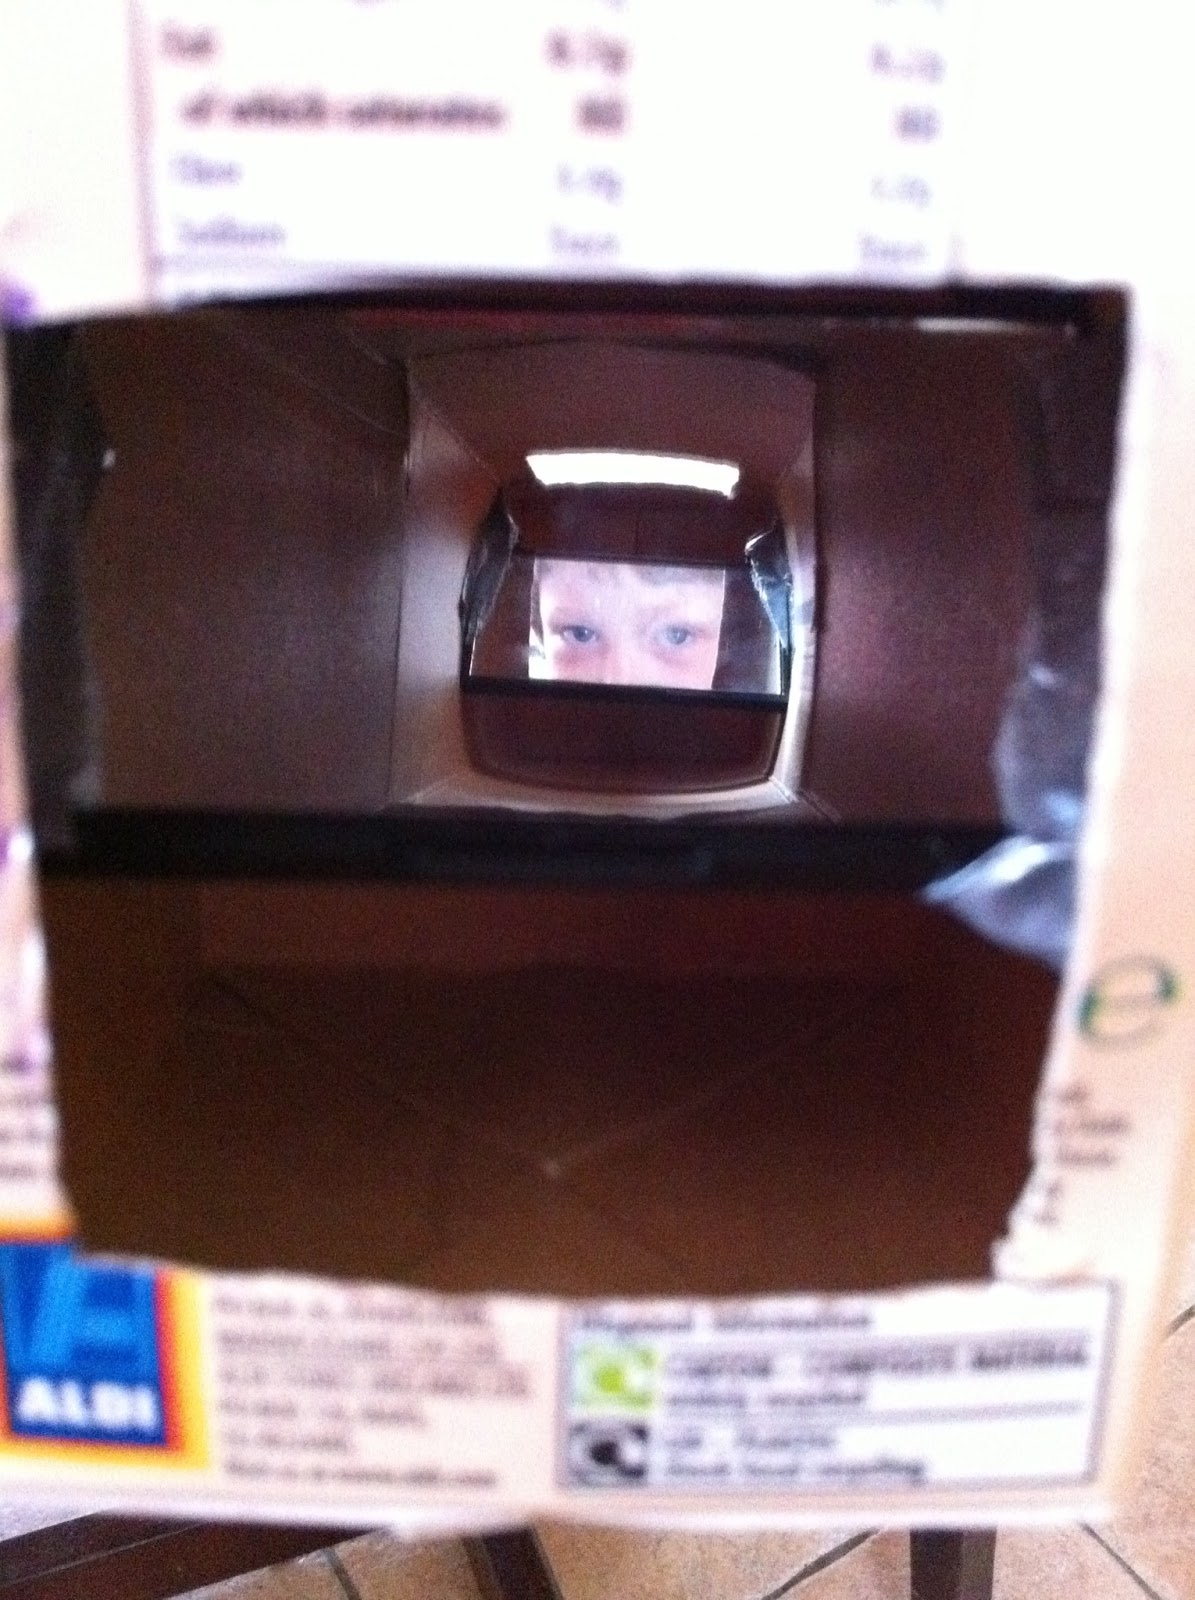
Now you want to fit a mirror into each end of the carton so that the reflective side of the mirror is facing you as you look in the hole and each mirror is tilted at an angle of approximately 45 degrees. The bottom mirror is tilted up at an angle of 45 degrees and the top mirror is tilted down at an angle of 45 degrees. I was lucky, my mirrors fitted the exact width of my milk cartons so I was able to place them inside, tilt them as required and then tape them in place. If your mirrors are wider than your carton then mark a line at the side of your carton, cut a slit and slide in your mirror. Repeat for the other mirror then tape into place.
You should be able to look into the bottom hole and see what is reflected through the top hole….
Now all that remains is to decorate your periscope and have some fun…. you can use it to look around things or over things, great for playing spies, which is a very popular game in this house.
Enjoy!
How does it work? The object we see is reflecting light, this light is bounced off the top mirror onto the bottom mirror which bounces the light right onto our eyes!
How it works
FEEDBACK: I love hearing from people who have tried some of these experiment so please let me know if you try this one, or even send me some photos of your finished periscope; If you have any questions just ask!
Here is a simple and fun experiment to try at home – how to make a balloon hovercraft. I was temporarily abandoned by my junior scientists so had to step in front of the camera for a change….. so everybody…. meet Dr. How ;0)
Hope you have fun with this experiment and do please drop me a line or a little comment to tell me what you think or how you got on!