We can’t get enough of magnets in this house it seems! Last week we shared one of our favourite games and this week it is all about how the compass works, how to make one and another great game to try!
Who invented the first compass
The ancient Greeks knew about lodestone, an iron rich rock that was naturally magnetic. The Chinese are credited with discovering that loadstone would always point towards North if suspended to allow it turn freely. A Chinese Scientist called Shen Kua described the first magnetic needle compass in 1088 AD; his experiments with suspended strips of magnetised iron showed how the strip always points North and how this could be used in navigation.
The arrival of the compass modernised navigation and travel, especially by sea. Before the compass, sailors relied on navigation by the stars but this was tricky on a cloudy night!
Did you know… sailors were forbidden to eat onion or garlic as their breath was thought to interfere with the compass needle?
How to make your own compass
A really fun game to keep the children entertained

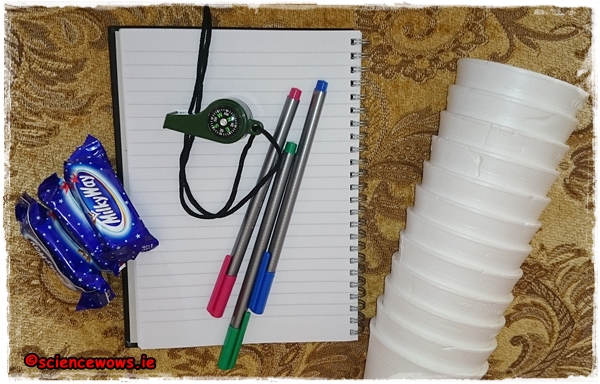
You will need…. some non see through cups or bowls, some treats or treasure to find, a compass, a notepad and a pen.
Setting it up… this is an easy game but it does require a little setting up before you let the children loose! Place the cups (upturned) all around the garden, hiding a treat underneath a few of them. One treat per child.
Decide on a starting point. Map out a route for each child starting at that point and walking X steps North/South/East or West.
Map a different route for each child to a different cup containing the treasure, here is an example…
take 3 steps North
take 3 steps East
take 11 steps North
take 14 steps West
take 5 steps South
take 10 steps East
take 11 steps West
You can make is as long and winding as you like. Remember to get an idea of each child’s step length before you start! Once you have prepared a route for each child you can call them out and let the fun begin.
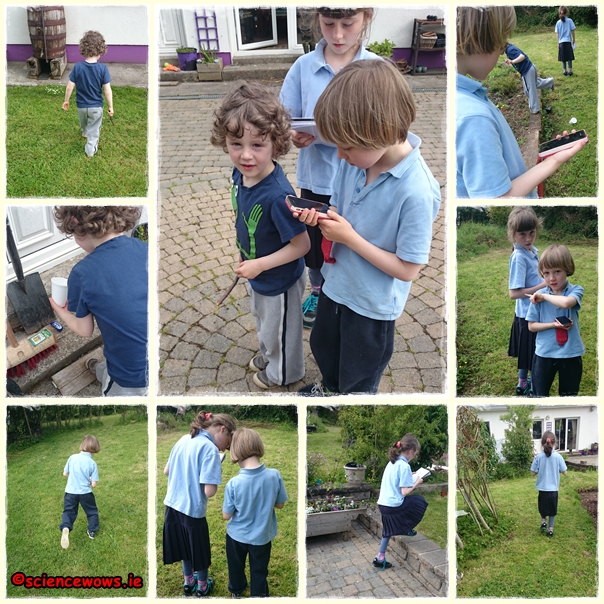
Each child starts at the same point and needs to follow the instructions given to them, using the compass for direction! Once the instructions run out the child lifts the nearest cup to (hopefully) reveal their prize.

This game is great for teaching children direction, learning how to follow instructions, read a compass and how to work as a team, if you change the rules to teams instead of individuals.
The beauty of this game is that you can make it as simple or as complicated as you like, adjusting each set of instructions to a child’s age so children of different ages can get involved.

My children are ten, eight and four and they really loved this, we have plans to make it bigger and better next time!
Whatever way you play it I hope you enjoy!
