What is a rocket?
A rocket can describe any object that is propelled by fast moving liquid or gas!
Most rockets have a nose or cone at the top, a body that houses the fuel and fins at the base.
Rockets are usually powered by a chemical reaction (explosion) within the rocket itself. This chemical reaction requires both fuel and oxygen, both of which must be carried within the rocket.
The fuel and oxygen are called the propellant. There are two types of propellant, liquid propellant and solid propellant.
A solid propellant rocket is easier, simpler and cheaper to make. However, these rockets are harder to guide and control as once the chemical reaction is started it is hard to stop.
A liquid propellant rocket is more complex and expensive to make but the burning of the liquid fuel is allot easier to control.
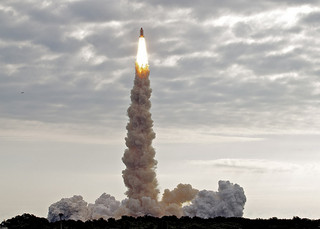
photo credit: Flying Jenny via photopin cc
A bit of history
The Chinese were the first to invent rockets when they started filling bamboo tubes with gunpowder and lighting them.
Rocket science really began with an English man called Isaac Newton. He formulated three laws to explain the physics of motion. These laws explain how rockets work!
Newton‛s 3rd Law of Motion states that every action has an equal and opposite reaction!
To understand this law think of a balloon full of air.
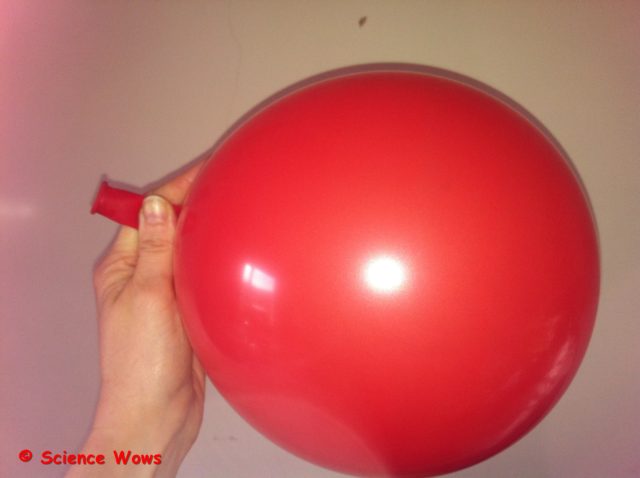
If the balloon is untied and the air suddenly let out, it will escape the balloon with such force that it will propel the balloon in the opposite direction.
The force of the air leaving the balloon is called the thrust! The thrust that powers the launch of a rocket comes from the force of the gas (generated by the burning fuel) being ejected from the rear of the rocket!
The first liquid propellant rocket was launched in 1926 by an American called Robert Goddard. He is considered the father of modern rocket science!
Rocket to the Moon
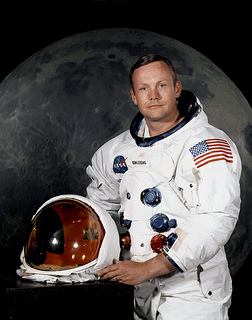
photo credit: NASA’s Marshall Space Flight Center
via photopin cc
In 1969 Neil Armstrong and Edwin Aldrin became the first men on the moon.
Armstrong and Aldrin traveled to the Moon in a rocket called Saturn V. It was 100 metres tall and weighed more than 3,000 tonnes! It was the largest rocket ever launched!
An Experiment to try at home
Make a stomp rocket!
You will need… an empty 2L plastic bottle, paper, insulation tape, a 1/2 inch PVC pipe, a length of rubber tubing;
What to do… tape one end of the rubber tubing to the neck of the bottle and tape the other end to one end of the PVC pipe. Next make the body of the rocket by wrapping a piece of paper around the PVC pipe and secure it with tape at the overlap. Remove the rocket from the pipe. Cut four triangles of paper and attach to the body of the rocket near one end; these are the rocket fins. Make a nose (cone shape) for the other end of the rocket and attach it with tape. You are now ready to launch your rocket. (Best to do this outside!).
Sit your paper rocket over the PVC pipe and place the 2L bottle on the ground on its side. Stomp on the bottle and watch your rocket shoot off!
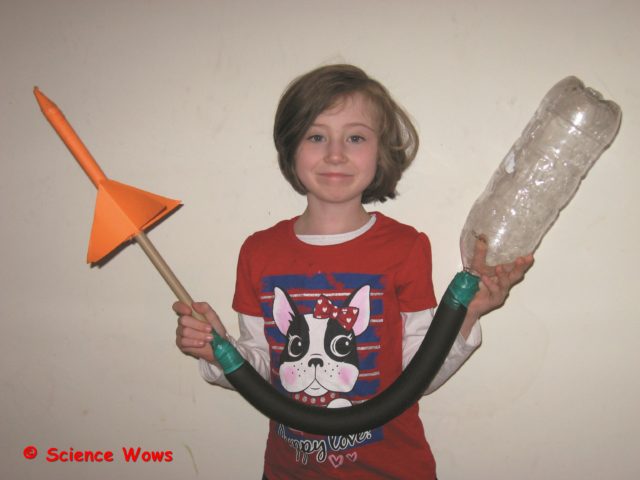
So what is happening?… when you stomp on the bottle the air inside it shoots out through the tubing and the pipe, forcing the rocket off the end of the pipe! Just blow into the pipe to re-inflate to bottle to start again!
An Experiment to try at home
Make a teabag rocket
I have shared this one with you before, but for those of you who have not seen it I thought it would be a nice addition here…. a double for the Bank Holiday Weekend ;0)
If you try any of the experiments or have any comments or questions, please let me know in the comments below!