Ten science experiments you can do with a plastic bottle – Part 1

Ten science experiments you can do with a plastic bottle – Part 1

Do you love science and want to try out some experiments yourself? Do you worry that you’ll need special equipment and expensive kits? FEAR NOT! There are so many science experiments you can do with things you have around your home RIGHT NOW! Just remember to always ask an adult’s permission. Finish drinking your water and save that bottle because we are going to share TEN amazing experiments with you… you’ll never look at a plastic bottle in the same way again!

A few months ago I promised to share ten experiments you can do with a simple plastic bottle. If you have been following me on Face Book you will have noticed that I have shared one every week and we reached ten no problem; I’ve compiled all the instruction videos here so that you can pick and choose which ones you want to do (or, even better, try all ten).

The reason I started this was because I was sick of seeing science experiment kits full of rubbish (I am not saying all science kits are rubbish, but I have seen my fair share lately). I wanted to show you that you can do plenty of science experiments from things you have around your own home. And what better example to use than a simple, humble, plastic bottle. A great example of reusing and recycling.

PLEASE NOTE: ALL THESE EXPERIMENTS REQUIRE ADULT SUPERVISION!

Without further ado… here are first five Science Experiments you can do with a plastic bottle:

  1. make a fire extinguisher


2. Inflate a balloon


3. The Sneezing Alien Experiment


4. and 5. Ocean in a bottle experiment and Lava Lamp experiment


Those are the first five experiments. Have lots of fun with them, check back next week for the next five experiments. Remember to keep those bottles!

As always, we love to get comments and feedback so do let us know if you try some of these experiments; we’d love to know how you get on, did you make some of your own modifications and improvements to the experiments? Would you like us to share more video experiments?
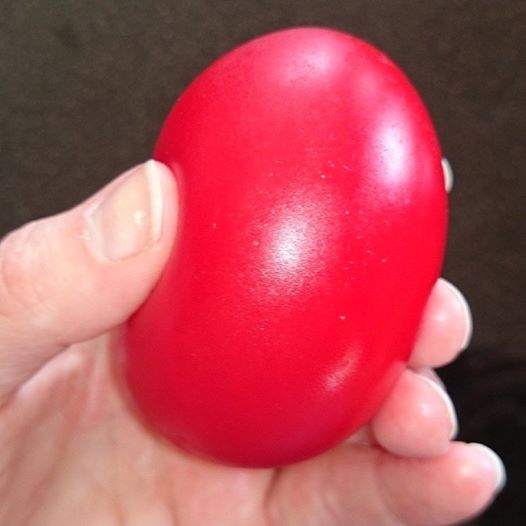
 

Coloured-bouncy egg experiment

Coloured-bouncy egg experiment

This egg experiment is a new take on an old favourite. We have made bouncy eggs before, we even made them fluorescent! This year we decided to add more colour.

This is a really simple experiment, you probably have everything you need already in your kitchen and it is guaranteed to entertain both the young and the young at heart!


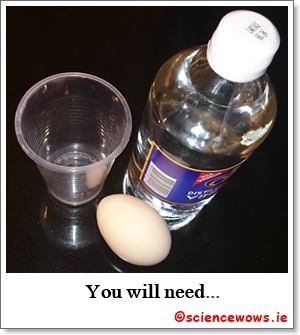
You will need:


bouncyegg3

Clear malt vinegar, a glass or cup, a whole raw egg, food colouring


What to do:


Place the raw egg in the glass and cover with vinegar, making sure the egg is completely covered.

Leave overnight or up to 48 hours if necessary.

After this time, remove the egg carefully and rinse it in a bowl of water.

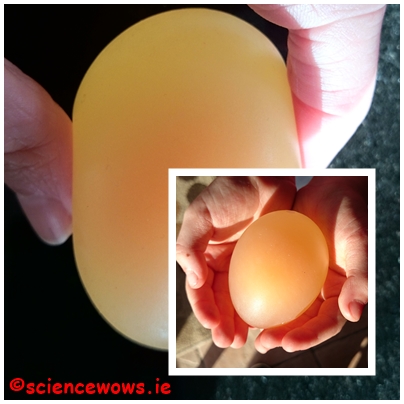
The vinegar will have dissolved all the shell of the egg, leaving just the egg membrane keeping the structure together. The “naked” egg will be soft and bouncy and a little delicate so do be carefully when washing any remaining shell off.


A bouncy "naked" egg after the first stage of the experiment
A bouncy “naked” egg after the first stage of the experiment


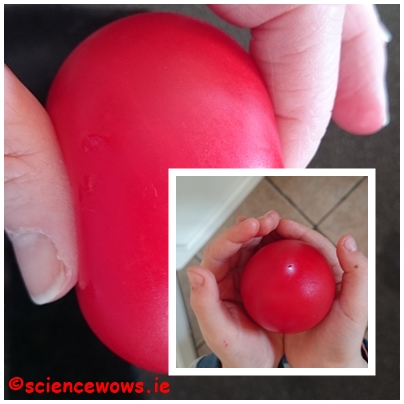
Next place the egg into an empty glass and cover with water, add at least two teaspoons of your chosen food colouring (we used red here) and leave overnight again.

The next day carefully remove the egg from the coloured water, rinse and pat dry (you may find your fingers will get a little stained from the food colouring but it will wash off).


After step 2 of the experiment our "naked" egg has a little more colour
After step 2 of the experiment our “naked” egg has a little more colour


Now you have a coloured, bouncy egg, but be carefully when you bouncy it…


What has happened:

When the egg is in the vinegar you will notice some bubbles forming and eventually a foam will appear at the surface of the vinegar. The eggshell is made up of calcium carbonate. The vinegar (an acid) reacts with the calcium carbonate (a base) producing a salt and a gas called carbon dioxide (these are the bubbles you see). The vinegar will keep reacting with the calcium carbonate until it is all gone, leaving the egg contained in just the cell membrane.

A delicate, but bouncy egg.

When the egg is then placed in coloured water the water will travel into the egg by a process called osmosis. The egg will swell a little with the extra water.

I hope you have fun with this one, and please do let us know if you try it out. We are currently repeating the experiment as my Junior Scientists want to see the eggs with different colours… we will keep you posted!